


")


Updating your motherboard’s BIOS, also known as UEFI, is not something you will be doing on a weekly basis. If something goes wrong during the update you will brick the motherboard and render your pc completely useless. This means you will have to send in the motherboard for RMA, which can take a few weeks.
However sometimes you should be updating your BIOS. PcInside will advise you when and how to update.
When should I update my BIOS (UEFI)?
Generally there are only two reasons to update your BIOS:
- You are planning to place a different (newer) cpu in your motherboard
- You are having stability issues*
*This is especially true if you have just added new hardware. A pc that is unstable but has been unchanged for months, and was running fine before, is unlikely to benefit from a BIOS update.
BIOS update in Windows or DOS?
Updating your BIOS (or UEFI) can be accomplished by two paths; directly from windows or falling back to DOS. When the update process is interrupted for whatever reason your motherboard is bricked. Therefore you should never update your BIOS from within Windows!
How to update your BIOS
Step 1: Identify your motherboard
Refer to article:What motherboard do I have? Type, brand, BIOS version and revision
Step 2: Visit your motherboard’s website
Refer to article: Updating your motherboard: Which motherboard drivers do I need?
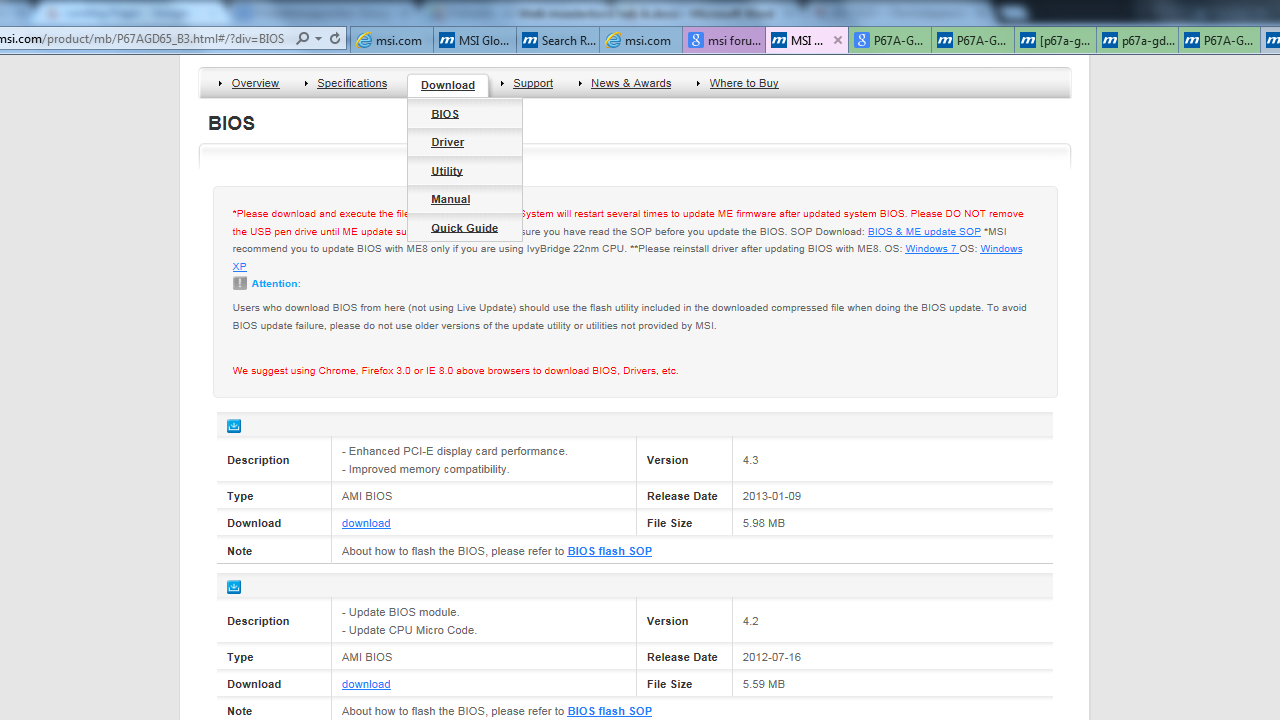
Step 3: Download the latest BIOS (uefi)
Download the latest BIOS (uefi) and extract the zip file.
Step 4: Use your USB stick
Place your files on an empty USB stick. Usually there are only a few files. The most important file is the BIOS image. This file will have an unknown extension and will be a few megabytes.
Sometimes you need to make your USB stick “bootable” so you have a place outside of the Windows operating system to start the update. However nowadays pretty much any motherboard can recognize USB sticks and their contents. If this is not the case then the BIOS usually comes as an executable (.exe) that will have to be started in order to convert your USB stick to a bootable BIOS update.
Step 5: Reboot and enter your BIOS (UEFI)
Now that your USB stick is ready you will need to reboot your computer with the USB stick still connected.
Press repeatedly on the BIOS key during boot to enter the BIOS (usually delete or f8). If you get to the Windows logo then you were too slow or you used the wrong key.
Step 6: Execute the BIOS update
Now that you are inside the actual BIOS we need to find the update functionality. Often this includes the word flash. For example MSI is using M-flash, Asus has EZ Flash and Gigabyte uses Q-Flash. Instructional videos can be found below.
Bios update menu instructional video’s per brand
MSI M-Flash
Asus EZ Flash
Gigabyte Q-Flash
Asrock: Instant flash

Question?
Did you manage to update your BIOS? Questions or remarks? Feel free to post in our comments!


Comments: